Here is an app that is helping businesses to effectively manage their inventory
An easy tutorial to the Inventory module to get you started
Inventory module
Inventory management is vital for businesses, whether their products are digital or physical. Odoo’s Inventory app is fully prepared to seamlessly work with other applications. The application allows users to perform basic operations (delivery orders, inventory adjustments, stock transfers,...) and advanced routing by managing multiple warehouses, cross-docking, drop-shipping and other options.
The present article will give an overview of the Inventory application, how to manage it properly and set it up.
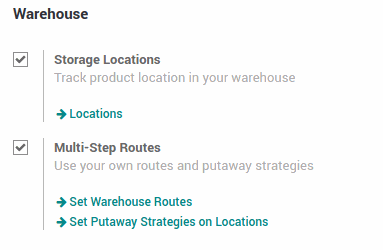
Before you start creating or importing inventory, configure the application in the Settings menu, under Configuration. Tick the boxes you need from operations, shipping connectors, products and the remaining options listed. When ticking some boxes, you’ll notice links appearing that when clicked, you can set up that option right away. Don’t forget to save.
Some of those options are also available under the Configuration menu, where you can create and edit units of measurement, warehouses, delivery methods or product attributes. However, they’re only visible if you enable them in Settings, just like explained above.
All of these should be properly created before moving on to other actions. By doing this first, you don’t have to set up a new warehouse when creating a new reorder rule, for example. There may be already a few items created by other employees in another application. This is because the Odoo’s apps are fully integrated with each other, so the same information is available across applications to prevent data duplication.
Adjust your inventory by packages, products or serial numbers. In the Inventory Adjustments page (Operations menu), create a new inventory or edit one. To create a new inventory, click on the Create button and a new page will open
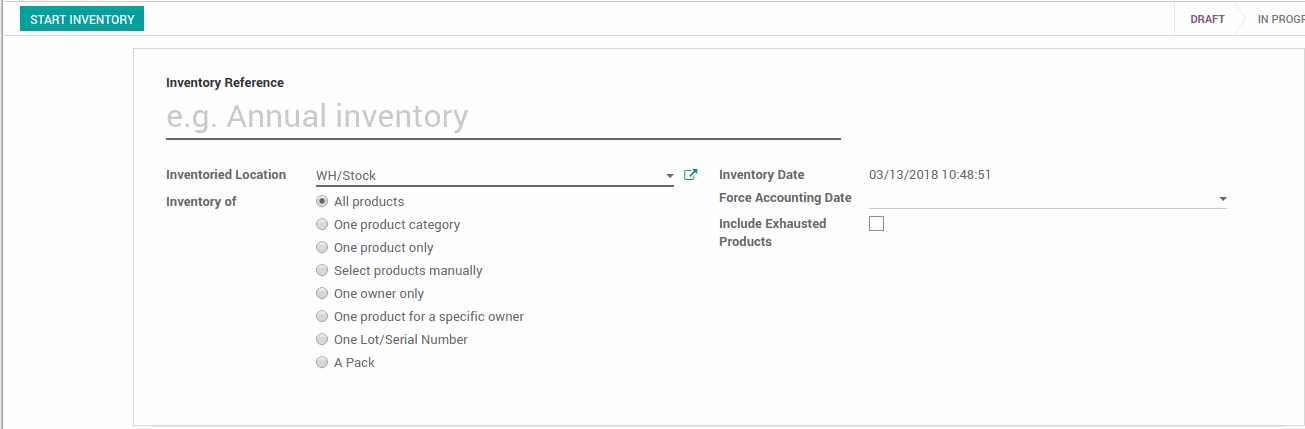
Depending on what option is chosen, you may have to insert additional information on a new field prompt by that choice. Save and click on Start Inventory and it will be automatically populated with products that match your previous selection. To conclude, hit Validate Inventory and save.
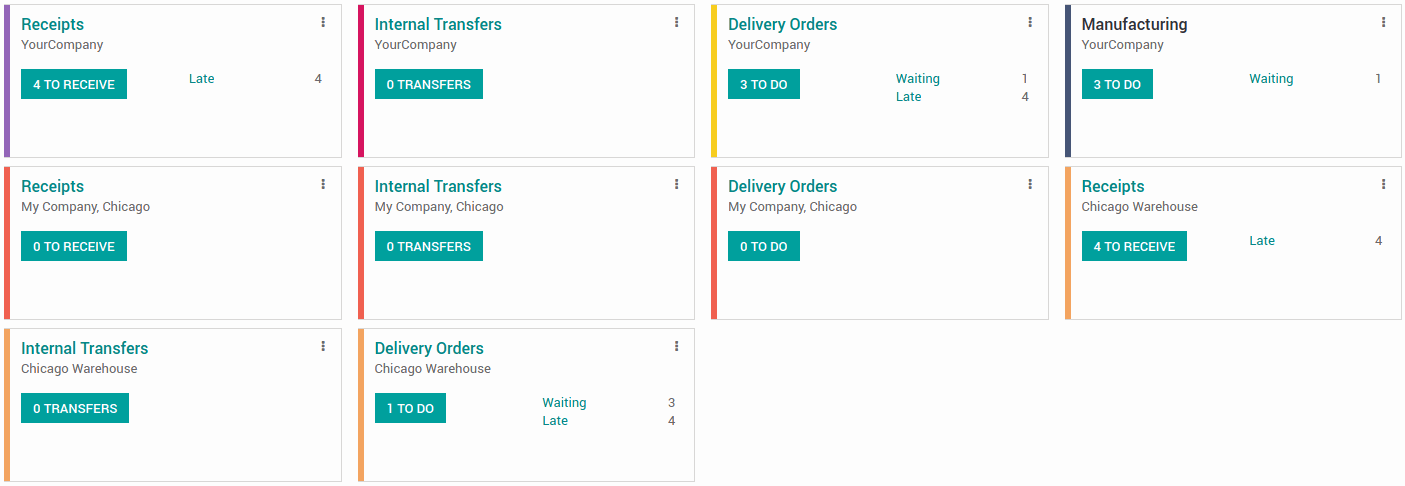
On the Inventory dashboard, you have an overview of all the processes associated with it. Depending on the other Odoo apps installed, users may manage internal transfers, manufacturing orders or receipts. Manufacturing orders can be created within the Inventory app as well, select Manufacturing from the dashboard and create an order.
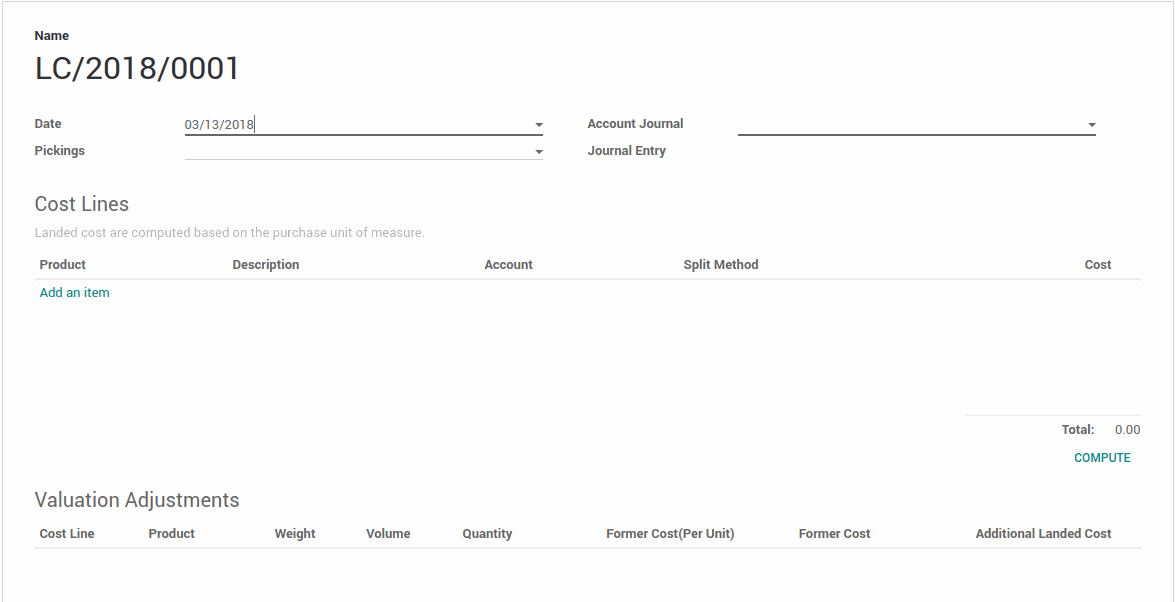
The Operations menu allows users to view and manage scrap orders, landed costs and run the scheduler. Landed Costs include the costs of production, shipping, customs and risk.
Under the Operations menu select Landed Costs, click Create and insert information. There are fields in which you have to create content right there. Provide the fields in the new windows with information and save. After that click on the Compute button, Validate and save the new landed cost rule.
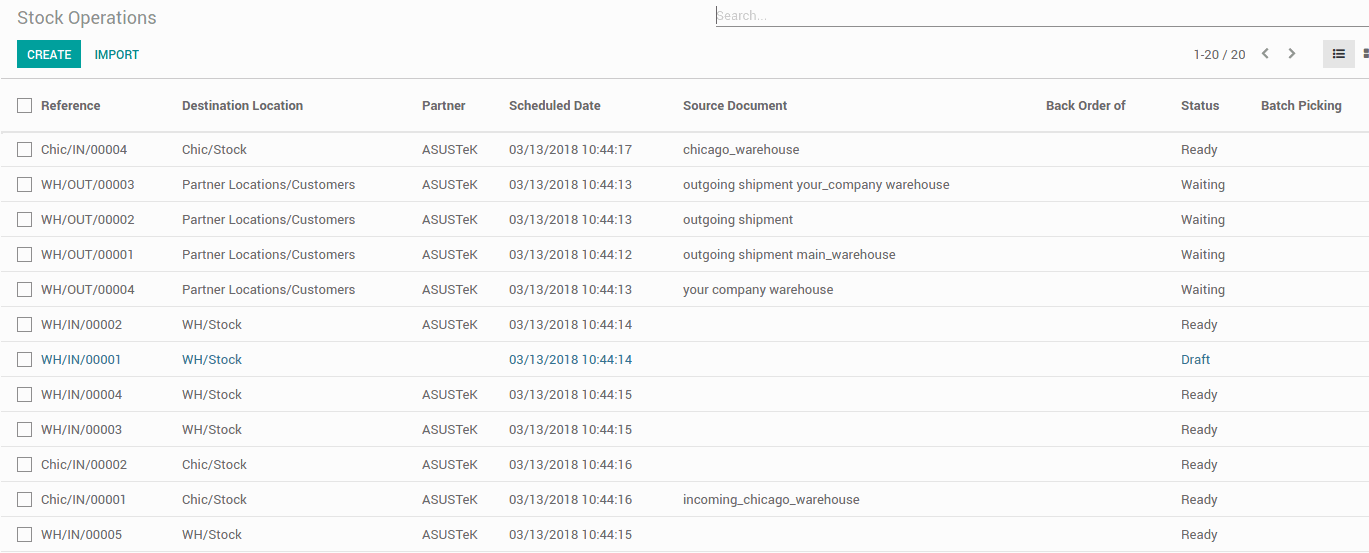
Under Operations, select Transfers to view your package transfers and its status. By selecting one of them, you can perform any of the actions described by the buttons on the top left, under Create and Edit
On Batch Pickings, you may assign an employee to the task.
Hit Create and choose the responsible employee, under Pickings add the desired package

Manage product and product variants, lots and serial numbers, packages and set reordering rules on the Master Data menu. Click on the desired action and on the new page click on create. Fill out the form and save. All the newly created products or packages will be visible on their main page. A detailed explanation on how to create products and product variants is available in the following articles: Product Variants and Manage Manufacture, under the BoM topic.
On the Reordering Rules menu, hit Create to make a new rule and type in the correct information. After this, you are able to select a rule and click on the Purchases tab to request a quotation from a vendor. Add new items to the Lots/Serial numbers page by enacting similar actions.
For packages, first, you have to create packages on the Product Packages page from the Configuration menu. Choose the type, the product
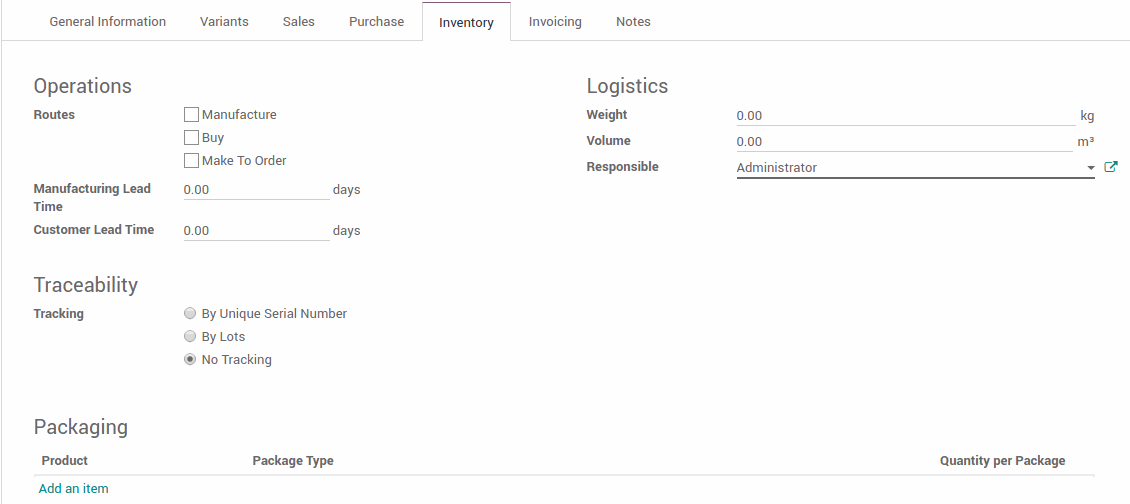
To create a package for a specific product, select the intended product (in Master data the Products page) and click on the inventory tab. Scroll down to Packaging, click the Add Item link and enter information about the package
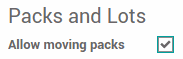
To handle whole packages, first, on the Operation Types menu (under Configurations), you have to tick the Allow moving packs option in the intended operation to be able to transfer packages.
Transfer orders are created on the Transfers page from the Operations menu. Fill out the form and save. You can make transfers as well by selecting a package you want from the Packages page (Master Data) to transfer and hit Package Transfers in the top right of the form.
A new page will open, click on create and insert information. To define how many units, click on the list icon on the far right and set a quantity in the Done column. Don’t forget to select Put in Pack button to complete the action and save.
Set up your delivery methods in Configuration. Go to the Delivery Methods page, where some methods are already available. If you don’t see a method used by your business, quickly create one. You can also establish to which countries or zip codes a provider will deliver your goods in the Destination availability tab.
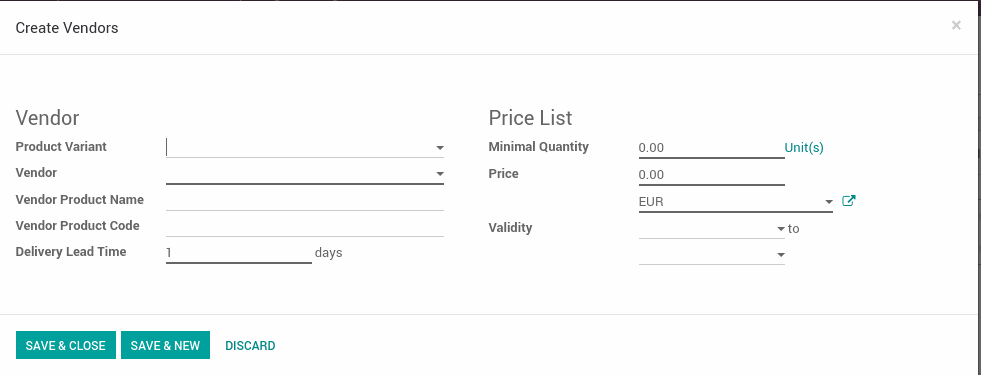
Plan delivery dates and Odoo will automatically schedule them. To do this, configure lead times in the desired product form
A pop-up window will appear, insert relevant information and, on the Delivery Lead Time field, set the number lead time days to schedule a delivery.
You can do this in other instances too, such as in manufacturing (the same way as explained above, in its dedicated tabs), in sales orders (in the sales app) and in routes
Change the incoming shipments and outgoing
Go to Warehouses in the Configuration menu and select a warehouse

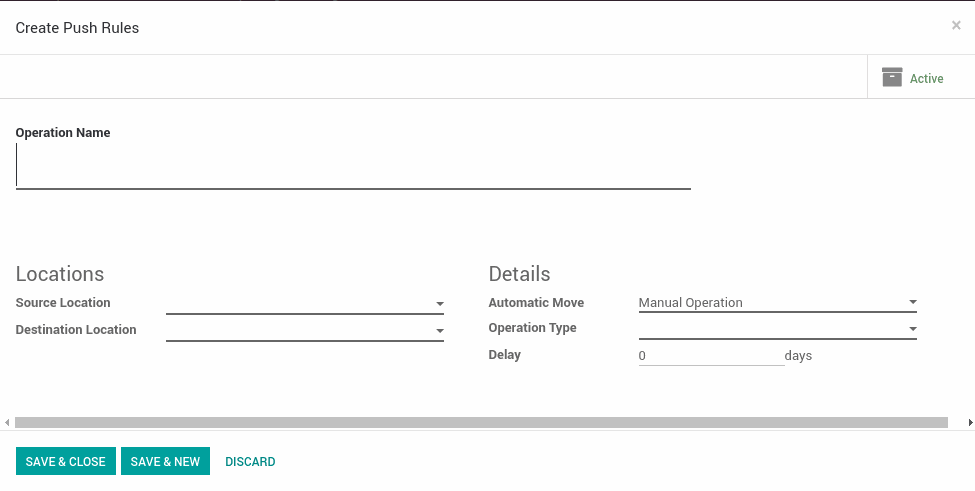
You can define delivery orders through routes as well to streamline the process. On the same menu, select Routes and create or edit an existing route, as explained previously
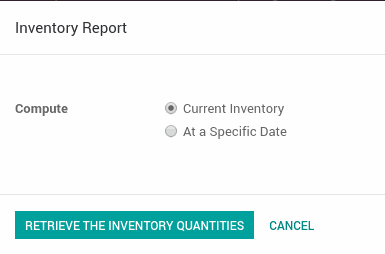
The Reporting menu presents valuable data about Inventory, track your packages and request product valuations